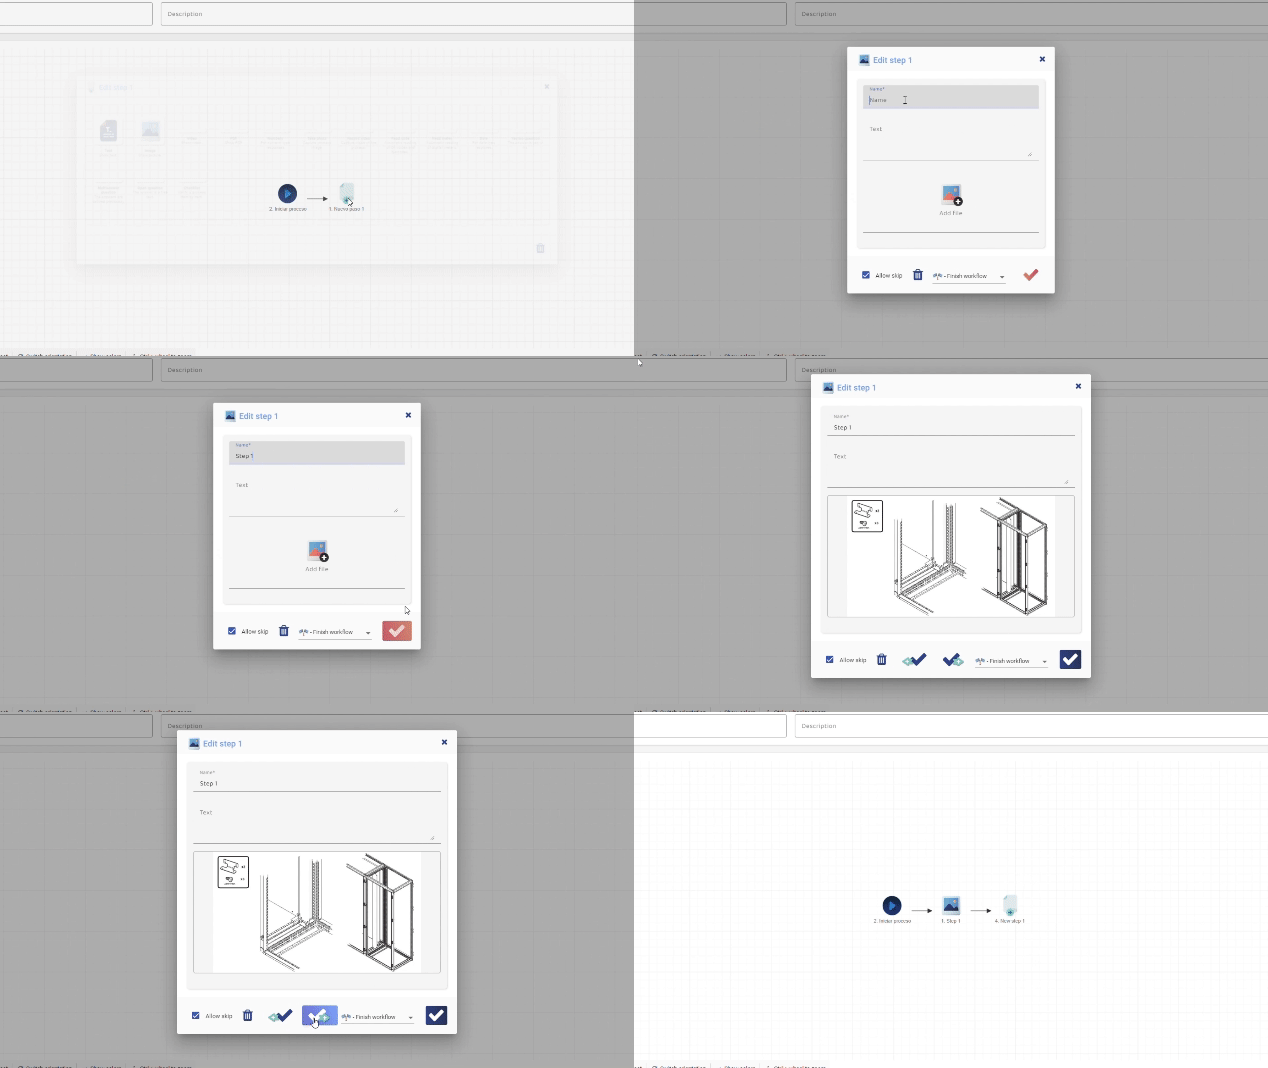
In “Process Eye,” each step in your workflow is customizable and serves a specific purpose. Steps are the essential components for creating and designing effective processes in the platform. When you click on any step, you’ll either open a form to complete that particular type of step or, if it’s a new step, you’ll access the step selection window, which continues to the form. Here’s how the step forms function:
Common Features:
- Step Name: Every step has a name to help identify its purpose.
- Allow Skipping Step: By default, each step is set to allow skipping. If unchecked, technicians must complete the step.
- Delete Step Button: You can delete a step if the circumstances permit it. In some cases, this option may not be available.
- Save Button: The “Save” button will only be enabled if all required fields are completed.
- Destination Step Selection: A dropdown menu lets you choose the next step. By default, it’s set to “End of Workflow,” but you can change it to any existing step, even creating loops in your process.
Additional Options When Saving:
- Save: This option saves the current step and allows you to continue working on your workflow.
- Save and Create New Step: Use this option to save the current step and immediately begin creating another one.
- Save and Create Previous Step (Only available if it’s the first step): Save the current step and create a previous step.
With these features, you can tailor your workflow, add specific steps, and control the flow of the process to meet your specific needs. The flexibility to determine when steps can be skipped or made mandatory, along with the ability to set destination steps, provides a powerful tool for process design and execution. Enjoy creating workflows tailored to your unique requirements!
Types of steps available
New: This is an unedited step, it has not yet been assigned a type or values. A workflow cannot be saved if a step of this type exists. By clicking on this step you can select the type and give it values.
Start: This step is not editable, has no values, and cannot be deleted.
It is the node from which all others are created.
Text: This step allows you to show text to the user and includes two fields: Title and Text. When opened, it displays both fields and is used to convey information via plain text. Use it when you need to provide straightforward textual information. Avoid using it unless necessary.
Image: Similar to the Text step, this step displays an image to the user. It allows you to select one mandatory image and includes an optional description field for additional context.
Video: This step is like the Image step but for video content. You can upload a video with a maximum size of 100MB. When saving a workflow with these steps, be patient, as video uploads require some processing time.
Numeric: This step is for numeric responses and can branch into multiple paths.
It includes several fields:
- Name: An example name.
- Question: The question asking for a number.
- Accuracy: The number of decimal places.
- Unit of Measure: The unit, e.g., meters.
- Response Ranges: You can specify response ranges, and they can be edited or deleted. Adding a new range may lead to the creation of a new branch, but be aware that changing the destination may delete a branch.
- Operator and Value: Define operators (e.g., <=) and values (e.g., 23) to guide users.
- Default Next Step: Specify the default next step if none of the response ranges match.
Capture: This step instructs the technician to take a photo.
It has fields for a name and an optional description.
Record Video: Similar to “Take Photo” but for recording videos.
It also includes a name and an optional description.
Read Code: This step is for reading QR codes and barcodes. Users can either open the camera for automatic code reading or manually enter the code.
This step can include a name and an optional description.
Read Meter: This step is like the “Read Code” step but for digital meters.
It captures meter readings and can include a name and an optional description.
Yes/No question:
This step is for yes or no questions. It includes:
- Question: The yes/no question.
- Image (optional): An input for uploading a supporting image.
- Answers: In this case, there are two options: “Yes” and “No.” Users are presented with buttons to respond.
Multi-answer Question: Similar to the Yes/No question but allows users to define multiple answers.
Users select from a list of predefined responses.
Open Question: This step is for free-text responses. It includes fields for a title, question, and an optional image. Technicians can provide their responses in a text area.
Checklist: This step is used for verifying items one by one. Technicians can check or uncheck various items in a list. It includes a title and one or more checklist items. Some items can be marked as mandatory, preventing the technician from proceeding without completing them.
Date: This step is for capturing date-type responses. It includes fields for a name and text,
along with an input for date selection.
PDF: This step allows you to show a PDF document to the user. You can specify the page number where the document should open. The user can previsualize the PDF for convenience.
End: This step is not shown in the diagram, but it does appear in the destination step selection combos.
It is the step in which the workflow will end.
These step types offer a wide range of possibilities to design and execute workflows efficiently and accurately, empowering you to streamline your operations and tailor processes to your unique requirements. Customize your workflows by making specific steps mandatory or skippable, and create intricate workflows with branching pathways or loops as needed.


Comparte tu opinión sobre este tema.